Glossary of EM.Cube's Basic File, Edit & View Operations
Contents
- 1 Action History
- 2 Arbitrary Work Plane
- 3 Back View
- 4 Bottom View
- 5 Copy Tool
- 6 Cut Tool
- 7 Delete Tool
- 8 Front View
- 9 Generate CAD Report
- 10 Grid Properties
- 11 Help
- 12 Left View
- 13 Merge Viewport
- 14 New Project
- 15 Open Project
- 16 Pan View Tool
- 17 Paste Tool
- 18 Perspective View
- 19 Print
- 20 Project Notes
- 21 Redo Tool
- 22 Restore Program Defaults
- 23 Right View
- 24 Rotate View Tool
- 25 Save Project
- 26 Save Project As
- 27 Save Python Command History
- 28 Select Tool
- 29 Snap to Edge
- 30 Snap to Face
- 31 Snap to Grid
- 32 Snap to Node
- 33 Snap to Object
- 34 Split Viewport
- 35 Toggle Navigation Tree
- 36 Top View
- 37 Undo Tool
- 38 Undo View Change / Redo View Change
- 39 User Preferences
- 40 Viewport Properties
- 41 Workspace Screen Capture
- 42 XY Plane
- 43 YZ Plane
- 44 Zoom Tool
- 45 Zoom To Extents Tool I
- 46 Zoom To Extents Tool II
- 47 Zoom To Selected Tool
- 48 Zoom Window Tool
- 49 ZX Plane
Action History
ICON: None
MENU: Edit → Action History...
KEYBOARD SHORTCUT: None
FUNCTION: Opens the "Action History" dialog which lists all the actions taken since the start of the current session of the EM.Cube application
NOTES, SPECIAL CASES OR EXCEPTIONS: You can go back along the sequence of the action history list and select and highlight any action in that list. In that case, all the subsequent actions taken place after the selected action will be undone. This provides a convenient alternative to multiple Undo/Redo operations.
PYTHON COMMAND: None
Arbitrary Work Plane
MENU: View → Work Plane → Arbitrary Plane
KEYBOARD SHORTCUT: W
FUNCTION: Sets up an arbitrary active work plane
TO SET UP AN ARBITRARY WORK PLANE:
- Activate the Work Plane Tool to enable CubeCAD's "Work Plane Mode".
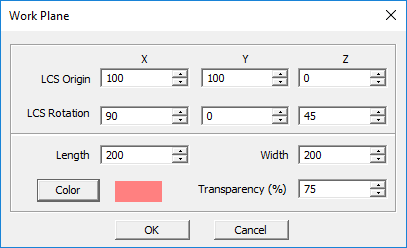
- The Work Plane dialog opens up at the lower right corner of the screen.
- Use one of the following three methods to establish a new work plane.
- Hover the mouse over any object in the project workspace to highlight one of its faces. Click on the selected face snap point, i.e. the center of a highlighted planar face. A new work plane appears overlaid on the selected face.
- Or while you are moving the mouse in one of the three principal XY, YZ or ZX work planes, click any blank point and drag the mouse. A semi-translucent plane perpendicular to the current principal work plane is drawn and displayed in the project workspace. The normal plane follows the movement of the mouse as you drag it. Once you reach the desired orientation, press the keyboard's' Enter key to finalize the new work plane.
- Or click successively on any three distinct points in the project workspace (including other objects' snap points). A new work plane is established that passes through the three selected points.
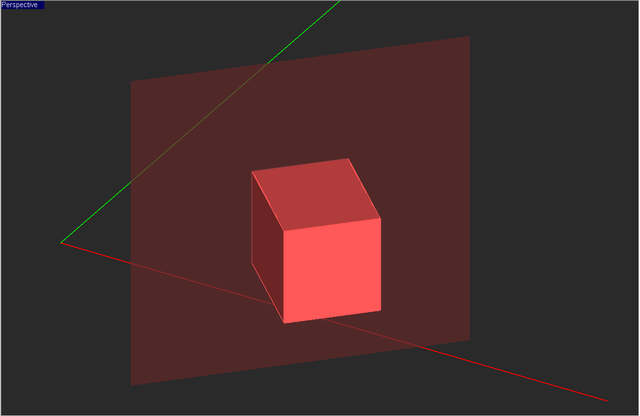
In all the three cases above, a translucent plane appears showing the location and orientation of the new work plane. The transverse axes (local X and Y axes) of the new work plane are displayed in red and green colors, respectively. A new "User Coordinate System (UCS)" is established on the new work plane. In the work plane dialog, you can see the world coordinates of the center of the UCS and its rotation angles with respect to the project's world coordinate system (WCS). From this dialog, you can change both the center coordinates and the rotation angles of the new work plane. Note that the visible size of the work plane is purely for visualization purposes; otherwise, the work plane has infinite extents. You can also change the Color and Transparency level of the work plane.
PYTHON COMMAND: None
Back View
MENU: View → Set View → Back View
KEYBOARD SHORTCUT: None
FUNCTION: Projects the physical structure onto the ZX-plane from the back
PYTHON COMMAND: None
Bottom View
MENU: View → Set View → Bottom View
KEYBOARD SHORTCUT: None
FUNCTION: Projects the physical structure onto the XY-plane from the bottom
PYTHON COMMAND: None
Copy Tool
MENU: Edit → Copy
KEYBOARD SHORTCUT: Ctrl+C
FUNCTION: Copies the selection into the Windows clipboard
PYTHON COMMAND: None
Cut Tool
MENU: Edit → Cut
KEYBOARD SHORTCUT: Ctrl+X
FUNCTION: Removes the selection from the project workspace and places it in the Windows clipboard
PYTHON COMMAND: None
Delete Tool
MENU: Edit → Delete
KEYBOARD SHORTCUT: Delete Key
FUNCTION: Deletes the selection from the project workspace
PYTHON COMMAND: delete(node_name)
Front View
MENU: View → Set View → Front View
KEYBOARD SHORTCUT: None
FUNCTION: Projects the physical structure onto the ZX-plane from the front
PYTHON COMMAND: None
Generate CAD Report
ICON: None
MENU: File → Generate CAD Report
KEYBOARD SHORTCUT: None
FUNCTION: Generates a text file called “cad_report.TXT” listing all the current geometrical objects in the project workspace along with their type, LCS coordinates, rotation angles and extents. In the case of array objects, it reports the parameters of the key element and the number of array elements
PYTHON COMMAND: None
Grid Properties
ICON: None
MENU: View → Grid Properties...
KEYBOARD SHORTCUT: None
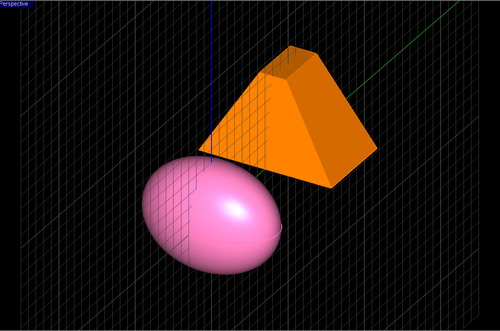
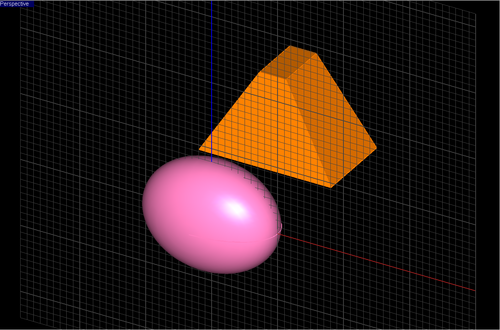
FUNCTION: Modifies the type and settings of the project workspace's grid
NOTES, SPECIAL CASES OR EXCEPTIONS: EM.Cube offers two different types of grid: Adaptive and fixed. Note that the grid is hidden by default and can be displayed from the preferences dialog. The adaptive grid is the default choice, and its grid cell size changes dynamically according the viewport size. As a result of this, during a dynamic zoom process, the grid seems to maintain almost the same size even though your physical structure looks bigger or smaller depending on whether you zoom in or zoom out. The fixed grid, on the other hand, always maintains fixed dimensions and a fixed grid cell size. Therefore, the fixed grid grows or shrinks along with your physical structure due to a dynamic zoom operation. With a fixed grid, you can set different grid cell dimensions along the three principal axes.
PYTHON COMMAND: None
Help
MENU: Help → Help Index
KEYBOARD SHORTCUT: Ctrl+Shift+H
FUNCTION: Opens the Help Index dialog
PYTHON COMMAND: None
Left View
MENU: View → Set View → Left View
KEYBOARD SHORTCUT: None
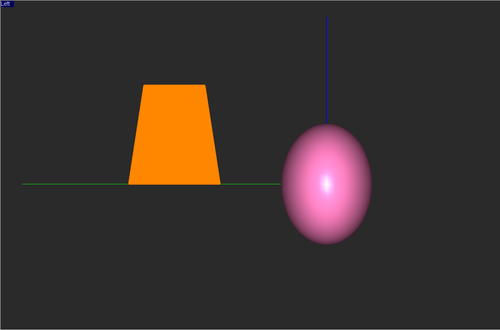
FUNCTION: Projects the physical structure onto the YZ-plane from the left
PYTHON COMMAND: None
Merge Viewport
MENU: View → Merge Viewport
KEYBOARD SHORTCUT: End Key
FUNCTION: Merges the four-port view into the normal single-port view
PYTHON COMMAND: None
New Project
MENU: File → New Project...
KEYBOARD SHORTCUT: Ctrl+N
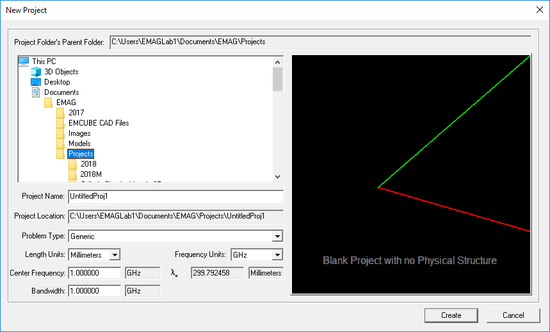
FUNCTION: Starts a new blank EM.Cube project
PYTHON COMMAND: None
Open Project
MENU: File → Open Project...
KEYBOARD SHORTCUT: Ctrl+O
FUNCTION: Opens an existing EM.Cube project
PYTHON COMMAND: None
Pan View Tool
MENU: View → Pan View
KEYBOARD SHORTCUT: Shift+RMB
FUNCTION: Moves the viewport around while the mouse is dragged
PYTHON COMMAND: None
Paste Tool
MENU: Edit → Paste
KEYBOARD SHORTCUT: Ctrl+V
FUNCTION: Places the contents of the Windows clipboard on the project workspace
PYTHON COMMAND: None
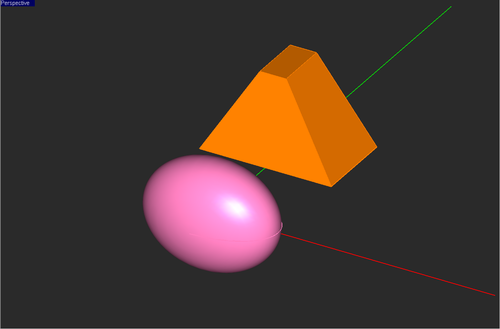
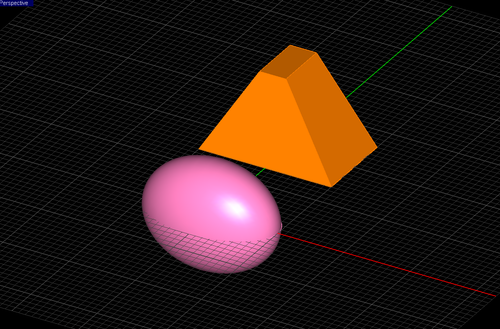
Perspective View
MENU: View → Set View → Perspective View
KEYBOARD SHORTCUT: Home Key
FUNCTION: Sets an isometric view of the physical structure on an XY-plane
PYTHON COMMAND: None
MENU: File → Print...
KEYBOARD SHORTCUT: Ctrl+P
FUNCTION: Prints the contents of the main window on the specified printer
PYTHON COMMAND: None
Project Notes
ICON: None
MENU: File → Project Notes
KEYBOARD SHORTCUT: None
FUNCTION: Opens a reserved text file called “project_notes.TXT” that can be used by the user to save project-related notes, comments and data
PYTHON COMMAND: None
Redo Tool
MENU: Edit → Redo
KEYBOARD SHORTCUT: Ctrl+Y
FUNCTION: Redoes the last operation
PYTHON COMMAND: None
Restore Program Defaults
ICON: None
MENU: File → Restore Program Defaults
KEYBOARD SHORTCUT: None
FUNCTION: Restores the original black background and yellow selection color and turns off the project workspace's grid
PYTHON COMMAND: None
Right View
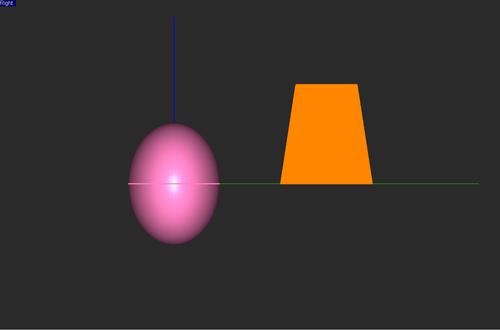
MENU: View → Set View → Right View
KEYBOARD SHORTCUT: None
FUNCTION: Projects the physical structure onto the YZ-plane from the right
PYTHON COMMAND: None
Rotate View Tool
MENU: View → Rotate View
KEYBOARD SHORTCUT: RMB or Alt+RMB
FUNCTION: Rotates the viewport about the origin of the world coordinate system (WCS) while the mouse is dragged
NOTES, SPECIAL CASES OR EXCEPTIONS: Using the right mouse button ( RMB) for rotating the view is a temporary operation and it doesn't change EM.Cube's view mode. Clicking on the "Rotate View" button of the View Toolbar changes EM.Cube's view mode to the "Rotate View Mode". In this mode, you can drag the mouse using either of the left or right mouse buttons to rotate the view about different axes. Also note that the axis of rotation in the case of rotate view mode is different than the axis of rotation using the temporary RMB or Alt+RMB shortcuts.
PYTHON COMMAND: None
Save Project
MENU: File → Save Project...
KEYBOARD SHORTCUT: Ctrl+S
FUNCTION: Saves the current EM.Cube project
PYTHON COMMAND: None
Save Project As
MENU: File → Save Project As...
KEYBOARD SHORTCUT: Ctrl+W
FUNCTION: Saves the current EM.Cube project under a different name
PYTHON COMMAND: None
Save Python Command History
ICON: None
MENU: File → Save Python Command History
KEYBOARD SHORTCUT: None
FUNCTION: Saves all the successfully executed Python commands in EM.Cube’ Python Interpreter during the current session of the current project in a reserved Python file called “python_history.PY”
PYTHON COMMAND: None
Select Tool
MENU: View → Normal View
KEYBOARD SHORTCUT: Esc Key
FUNCTION: Returns to the normal select mode
PYTHON COMMAND: None
Snap to Edge
ICON: None
MENU: View → Snap → Snap to Edge
KEYBOARD SHORTCUT: E
FUNCTION: Toggles the "Snap-to-Edge" mode. In this mode, the mouse snaps to a point on the nearest object edge. Both the edge and the point on it are highlighted. You can move the mouse incrementally and locally on the highlighted edge. This mode is particularly useful for CAD operations that require selecting an object edge such as extruding, lofting or revolving an edge or bridging between two edges.
PYTHON COMMAND: None
Snap to Face
ICON: None
MENU: View → Snap → Snap to Face
KEYBOARD SHORTCUT: F
FUNCTION: Toggles the "Snap-to-Face" mode. In this mode, the mouse snaps to a point on the nearest object face. Both the face and the point on it are highlighted. You can move the mouse incrementally and locally on the surface of the highlighted face. This mode is particularly useful for CAD operations that require selecting an object face such as extruding, lofting or revolving a face or skinning between two faces.
PYTHON COMMAND: None
Snap to Grid
ICON: None
MENU: View → Snap → Snap to Grid
KEYBOARD SHORTCUT: G
FUNCTION: Toggles the "Snap-to-Grid" mode. In this mode, the mouse snaps to a point on the project workspace's grid. In that case, a small white (round or square) point appears on the screen beside the normal arrow cursor that shows the current location of the mouse in the project workspace. EM.Cube's snap-to-grid mode is enabled by default. Note that you can enable the snap-to-grid mode without having to display the grid on the screen.
PYTHON COMMAND: None
Snap to Node
ICON: None
MENU: View → Snap → Snap to Node
KEYBOARD SHORTCUT: N
FUNCTION: Toggles the "Snap-to-Node" mode. In this mode, the mouse snaps to the nearest object snap point. However, only a node, vertex or point is highlighted.
PYTHON COMMAND: None
Snap to Object
ICON: None
MENU: View → Snap → Snap to Object
KEYBOARD SHORTCUT: O
FUNCTION: Toggles the "Snap-to-Object" mode. In this mode, the mouse snaps to the nearest object snap point. If the snap point is the midpoint of an edge, the edge is also highlighted. If the snap point is the center of a face, the fact is also highlighted. EM.Cube's snap-to-object mode is enabled by default.
PYTHON COMMAND: None
Split Viewport
MENU: View → Split Viewport
KEYBOARD SHORTCUT: None
FUNCTION: Displays a four-port view of the project workspace
NOTES, SPECIAL CASES OR EXCEPTIONS: Splitting the viewport provides simultaneous Perspective, Top, Front and Right views in the Project Workspace. Each split viewport’s settings can be changed individually. The name of the active viewport on which changes apply is always highlighted with a dark blue background; inactive views are indicated by a gray background. In the Four-Port View mode, you can zoom, extents or rotate the view for each viewport individually.
PYTHON COMMAND: None
MENU: View → Navigation Tree
KEYBOARD SHORTCUT: None
FUNCTION: Toggles the visibility of the navigation tree window
PYTHON COMMAND: None
Top View
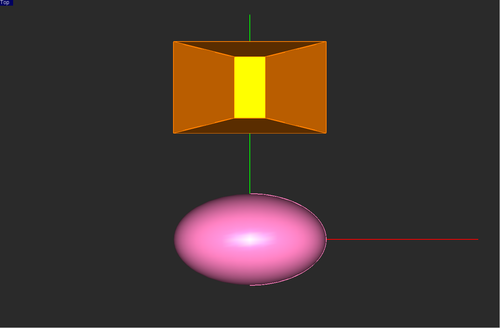
MENU: View → Set View → Top View
KEYBOARD SHORTCUT: None
FUNCTION: Projects the physical structure onto the XY-plane from the top
PYTHON COMMAND: None
Undo Tool
MENU: Edit → Undo
KEYBOARD SHORTCUT: Ctrl+Z
FUNCTION: Undoes the last operation
PYTHON COMMAND: None
Undo View Change / Redo View Change
MENU: View → Undo View Change, View → Redo View Change
KEYBOARD SHORTCUT: None
FUNCTION: Reverts the viewport to the previous view angle and distance
PYTHON COMMAND: None
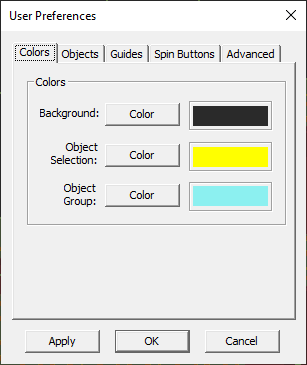
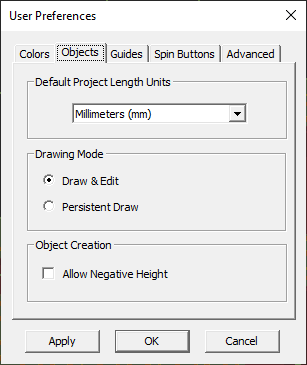
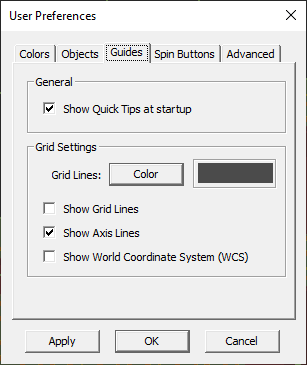
User Preferences
ICON: None
MENU: Edit → Preferences...
KEYBOARD SHORTCUT: Ctrl+H
FUNCTION: Opens the "User Preferences" dialog from which you can control a number of permanent project settings
PYTHON COMMAND: None
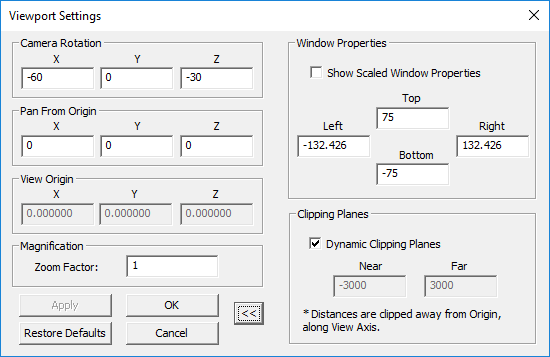
Viewport Properties
ICON: None
MENU: View → Viewport Properties...
KEYBOARD SHORTCUT: None
FUNCTION: Modifies the default settings of the viewport
NOTES, SPECIAL CASES OR EXCEPTIONS: This dialog is used to set the size and boundaries of the viewport manually. You can set the viewport size by specifying the coordinates of the "Top-Left-Near" and "Bottom-Right-Far" points. You can also set the coordinates of the viewing camera location.
PYTHON COMMAND: None
Workspace Screen Capture
ICON: None
MENU: File → Workspace Screen Capture
KEYBOARD SHORTCUT: None
FUNCTION: Creates a bitmap image of a screenshot the project workspace
NOTES, SPECIAL CASES OR EXCEPTIONS: The bitmap screenshot is stored in the "images" subfolder of the current project folder. It is listed under the "Image Files" tab of the data manager.
PYTHON COMMAND: None
XY Plane
MENU: View → Work Plane → XY Plane
KEYBOARD SHORTCUT: Z
FUNCTION: Makes the principal XY plane the active work plane
PYTHON COMMAND: None
YZ Plane
MENU: View → Work Plane → YZ Plane
KEYBOARD SHORTCUT: X
FUNCTION: Makes the principal YZ plane the active work plane
PYTHON COMMAND: None
Zoom Tool
MENU: View → Zoom → Dynamic
KEYBOARD SHORTCUT: Ctrl+RMB or Mouse Scroll Wheel
FUNCTION: Zooms into or out of the project workspace while the mouse is dragged up or down, respectively
PYTHON COMMAND: None
Zoom To Extents Tool I
MENU: View → Zoom → Extents
KEYBOARD SHORTCUT: Ctrl+E
FUNCTION: Automatically zooms to fit the whole physical structure into the main window
PYTHON COMMAND: zoom_extents()
Zoom To Extents Tool II
MENU: View → Zoom → Extents All
KEYBOARD SHORTCUT: Ctrl+Shift+E
FUNCTION: Automatically zooms to fit the whole physical structure into all four viewports in the four-port view mode
PYTHON COMMAND: None
Zoom To Selected Tool
MENU: View → Zoom → Selected
KEYBOARD SHORTCUT: None
FUNCTION: Automatically zooms to fit the highlighted object into the main window
PYTHON COMMAND: None
Zoom Window Tool
MENU: View → Zoom → Window
KEYBOARD SHORTCUT: None
FUNCTION: Draws a window to define the zoom boundaries
PYTHON COMMAND: None
ZX Plane
MENU: View → Work Plane → ZX Plane
KEYBOARD SHORTCUT: Y
FUNCTION: Makes the principal ZX plane the active work plane
PYTHON COMMAND: None

